Skip to content
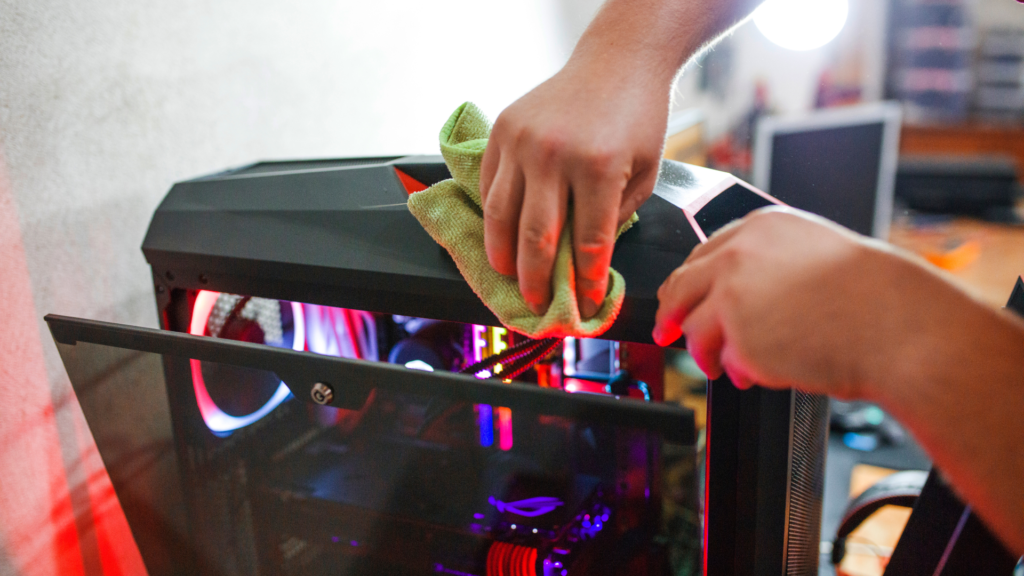
Welcome to the ultimate guide on cleaning your PC! Whether you’re a gaming enthusiast, a professional, or just someone who uses their PC for everyday tasks, maintaining your computer is essential for ensuring its longevity and peak performance. In this step-by-step tutorial, we’ll walk you through the entire process of cleaning your PC, both inside and out.
Why Cleaning Your PC Matters
Before we dive into the cleaning process, let’s discuss why it’s so important. Dust and debris can accumulate over time, clogging fans and air vents. This can lead to overheating, which is one of the main causes of computer hardware failure. Regular cleaning helps prevent this, keeping your system cool and your components running smoothly.
Preparing for Cleaning
- Gather Your Tools: You’ll need a few basic tools, including a can of compressed air, microfiber cloths, isopropyl alcohol (preferably 99%), and a soft brush. Optionally, thermal paste may be needed if you plan to clean the CPU.
- Turn Off and Unplug Your PC: Safety first! Always turn off your computer and unplug it from the power source before starting the cleaning process.
- Open Your PC Case: Consult your PC’s manual for instructions on how to safely open the case. This usually involves removing screws or unlocking the case with a button or lever.
Cleaning the Inside
- Dust Off the Interior: Using the can of compressed air, gently blow away dust from the interior components. Keep the can upright to avoid moisture release, and use short bursts to avoid damaging delicate parts.
- Clean the Fans: Hold the fan blades in place and use the compressed air to blow away dust. If the fans are very dirty, you may need to remove them for a more thorough cleaning.
- Wipe Down Components: Gently wipe down the motherboard, GPU, and other components with a dry microfiber cloth. If needed, lightly dampen the cloth with isopropyl alcohol for stubborn grime.
- Check and Clean Air Filters: Many PCs have air filters. Remove and clean these according to the manufacturer’s instructions, usually by rinsing under water and letting them dry completely.
Cleaning the Exterior
- Wipe Down the Case: Use a microfiber cloth and isopropyl alcohol to wipe down the outside of your PC case, paying special attention to areas where dust accumulates.
- Clean the Ports and Vents: Use the compressed air to blow dust out of the USB ports, audio jacks, and air vents.
- Keyboard and Mouse: Don’t forget about your peripherals. Clean your keyboard and mouse with a cloth dampened with isopropyl alcohol.
Reassembling and Testing
- Ensure Everything is Dry: Before reassembling your PC, make sure all components and filters are completely dry.
- Reassemble Your PC: Carefully put everything back in its place, ensuring that all components are securely seated and connected.
- Power On: Once everything is reassembled, plug your PC back in and power it on. Listen for any unusual noises and check that all fans are working correctly.
Conclusion
Cleaning your PC might seem daunting at first, but with the right tools and a bit of patience, it’s a task that can greatly improve your computer’s performance and lifespan. Make it a habit to clean your PC every 6 to 12 months, depending on your environment and usage.
By following this guide, you’ll not only extend the life of your PC but also enjoy a smoother, more efficient computing experience. Happy cleaning!